Product Overview: Negative Conversion Software
NEGMASTER-BRFlagship on offer
€ 79
one-time
Complete Film Conversion Suite
Fully automatic negative conversion directly in Adobe Bridge
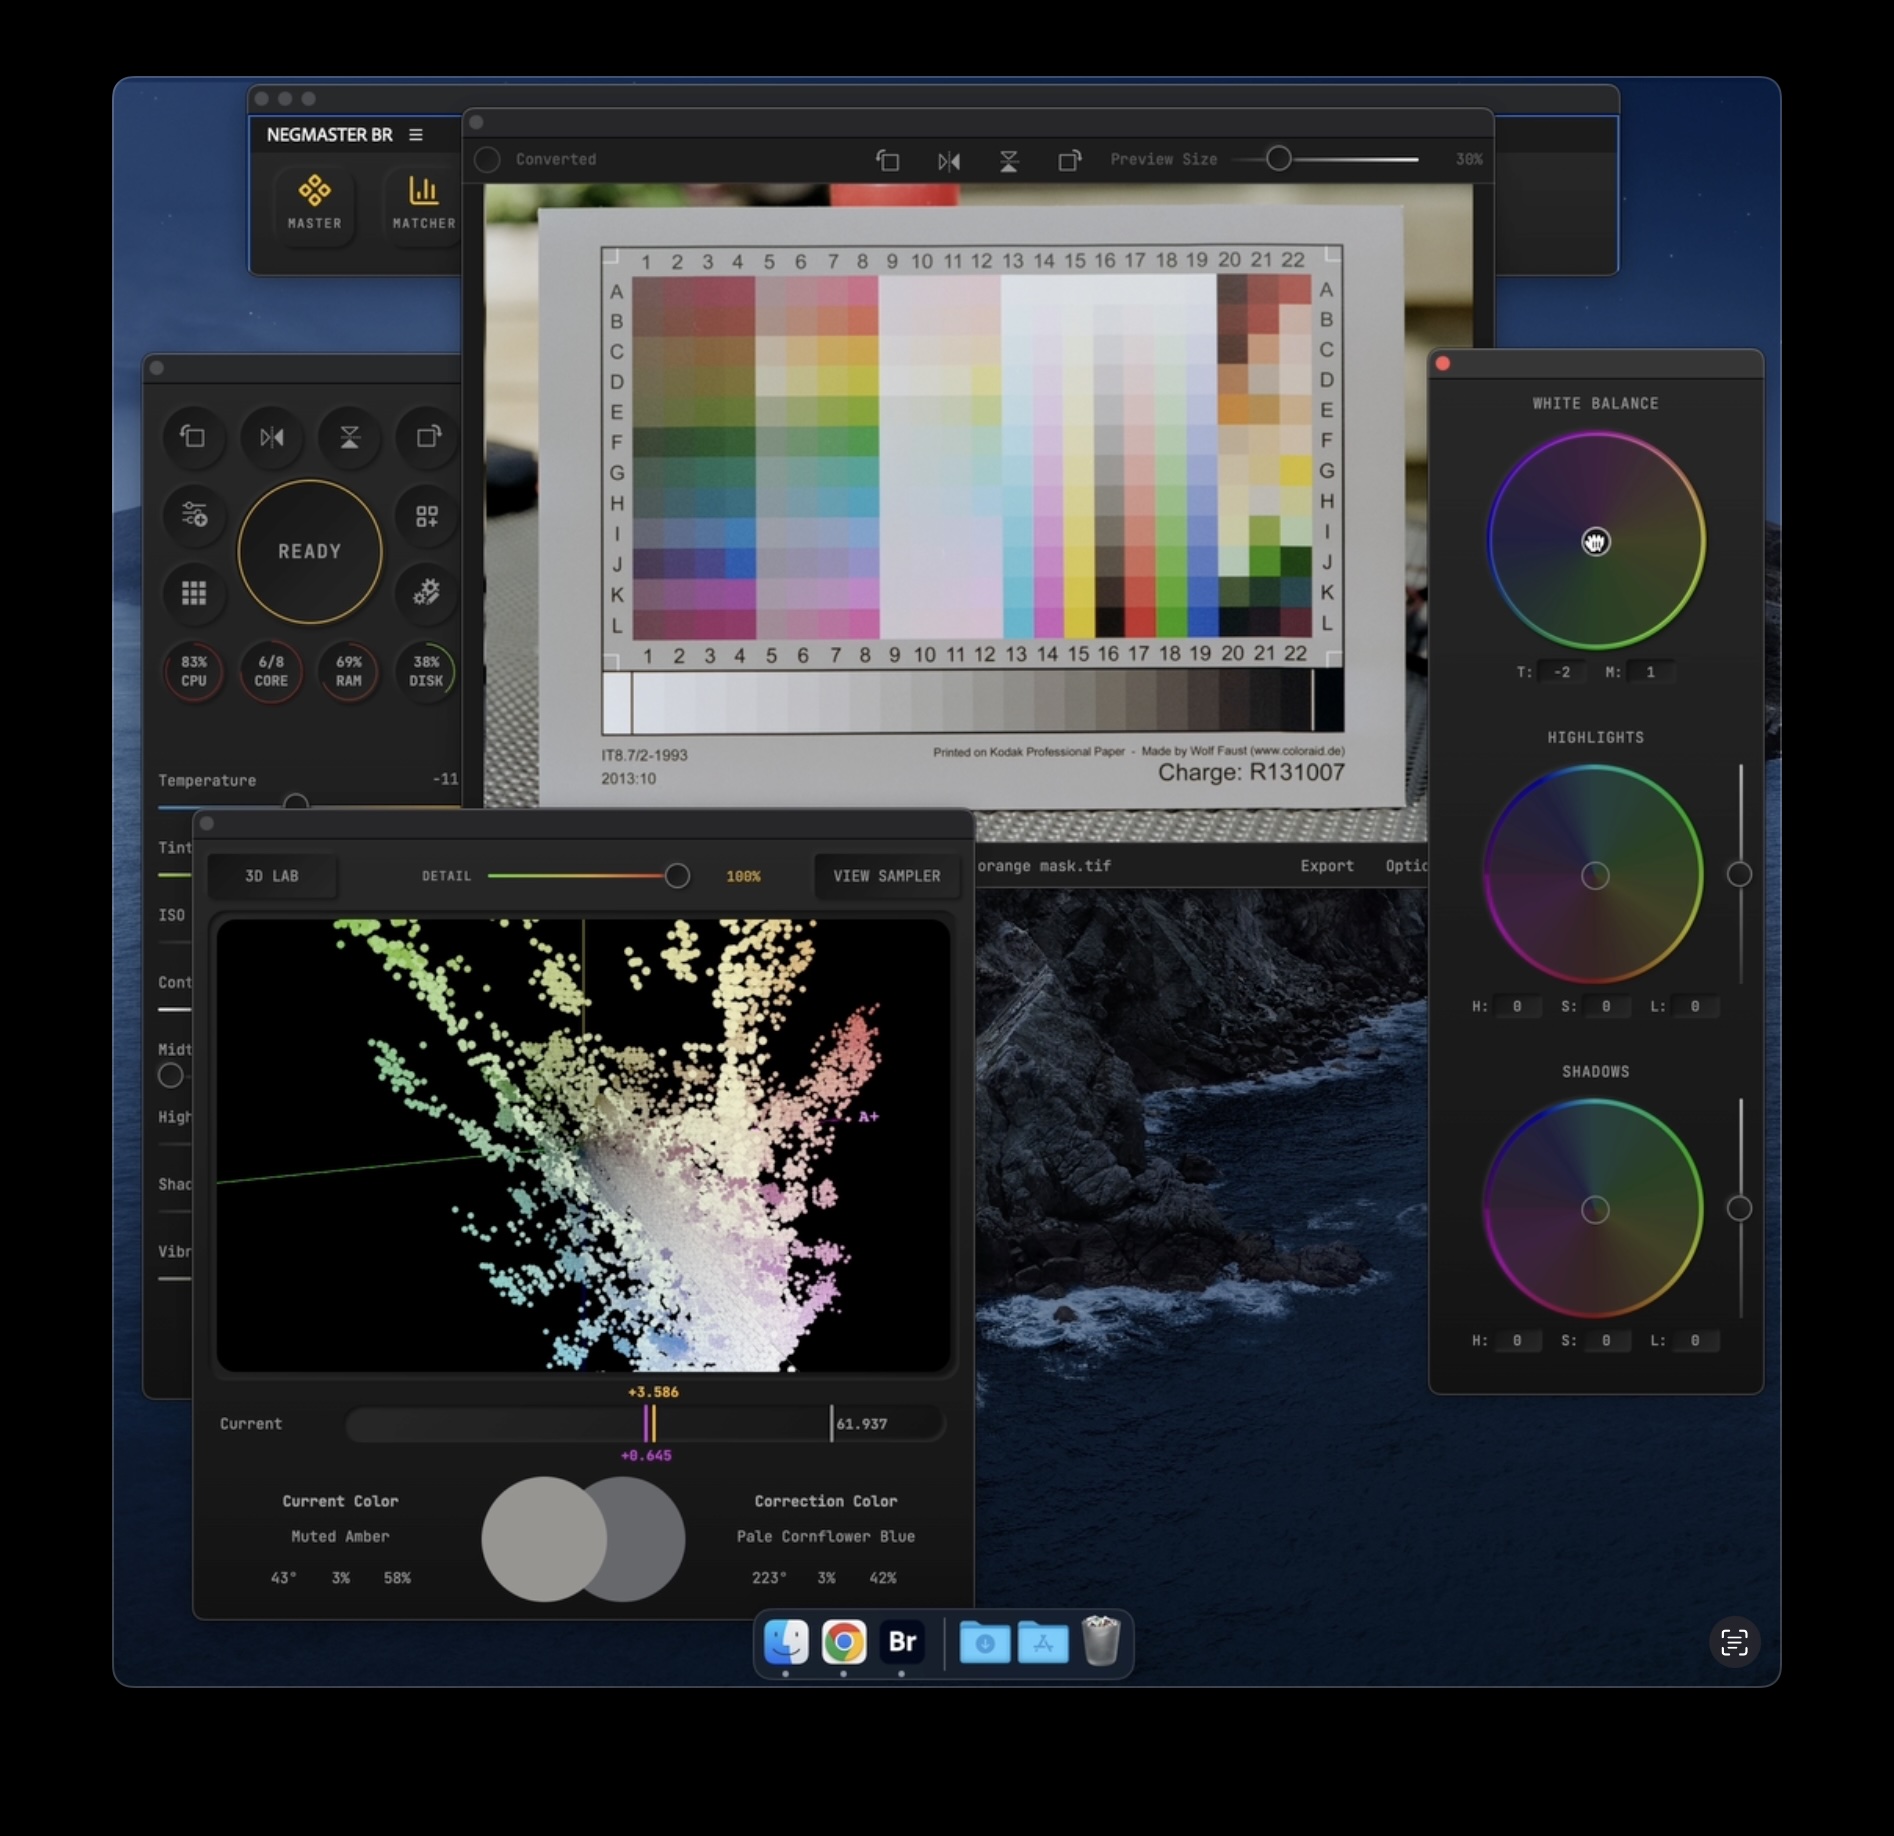
NEGMASTER-BR transforms Adobe Bridge into a professional film lab environment with ten integrated modules. Select your scans, click “Convert,” and get technically precise results – automatically adapted to film type, scanner, and image content. Film borders, sprocket holes, dust, and scratches are intelligently detected and excluded from calculations.
Live editing: Peeker module provides a dedicated live viewer showing all changes in real-time. Navigate through live 3D histograms (RGB, CMY, LAB) in Matcher module like walking through your image in color space. Matcher module with polygon masks enables precise color matching between images – perfect for portrait series where consistency matters. Separator module reveals hidden color casts by splitting images into neutral, cool, and warm 3D layers.
Unique capability: Supports lab scanner formats (Noritsu, Pakon, Creo, Konica) that no other software can read. Hotfolder monitoring converts new scans automatically in the background. Largest Adobe plugin ever created.
Perfect For
Hobbyists, Professional labs, portrait photographers, high-volume workflows
Platform
Adobe Bridge (free!)
Preparation
Zero – convert directly from raw scan
NEGMASTER-PS
€ 79
one-time
Maximum Creative Control
Photoshop extension for creative photographers
NEGMASTER-PS uses Photoshop as its foundation. Seamless integration with Photopshop’s layer based image editing.
Creative powerhouse: Over 20 emulation profiles, split toning, curve presets, and extensive darkroom profiles. ColorCom provides RGB channel control for precise color cast correction (complementary color mixing like enlargers). Highpass sharpening without “Fuji worms.” Batch processing scripts convert thousands of images. No 512MB file size limit like Lightroom.
Bonus included: NEGSETS-LR (€35 value) free with purchase!
Perfect For
Creative photographers, Photoshop power users
Platform
Adobe Photoshop CC (Adobe paid subscription required)
Preparation
Images must be prepared in Lightroom/ACR first
NEGSETS-LR
€ 39
one-time
The Easy Entry
Profile-based conversion for Lightroom
NEGSETS-LR brings NEGMASTER’s Invertrue camera profiles to Lightroom. Specially designed for negative inversion, these profiles work in positive workflow – you see positive images immediately. No “weird tones” like with normal curve inversion.
Simple & mobile: Film-specific profiles for different tonal approaches. Works seamlessly with Lightroom CC, and Mobile – even on iPad. The easiest and most affordable entry into professional negative conversion. Full cloud sync across all devices.
Upgrade path: Get €35 discount when purchasing NEGMASTER-PS later.
Perfect For
Lightroom users, mobile workflows, beginners
Platform
Adobe Lightroom CC 2019+ (Adobe paid subscription required)
Operation
Apply profile, set white balance, edit to your liking and apply the settings to the complete roll
Detailed Product Comparison
| Feature / Category |
NEGMASTER-BR
“Most Advanced”
NEW
Recommended |
NEGMASTER-PS
“Creative Control”
Bestseller
+ Bonus |
NEGSETS-LR
“Entry Level”
|
|---|---|---|---|
| BASICS | |||
| Price | €79 €99 -Launch Offer |
€79 + NEGSETS free (€35 value) |
€35 Upgrade discount available |
| Platform | Adobe Bridge ✓ Free! |
Photoshop CC Subscription (~€250/year) |
Lightroom 2019+ Subscription (~€150/year) |
| License Activations | 2 computers | 1 computer | Unlimited devices |
| Transferable | ✓ Anytime | ✓ Anytime | ✓ Anytime |
| Lifetime Updates | ✓ Yes | ✓ Yes | ✓ Yes |
| WORKFLOW | |||
| Preparation Needed | ✗ None! Convert directly from scan |
✓ Yes LR/ACR prep required |
Minimal Profile + white balance |
| Conversion Preview | ✓ Peeker Module | ✗ | ✓ Standard LR |
| Live Editing | ✓ All changes instant | ✓ With ColorCom | ✓ Standard LR |
| Conversion Type | Fully automatic | Semi-automatic | Manual Profile-based |
| MODULES & TOOLS | |||
| Conversion Engine | Dynamic | Dynamic | Static |
| Live Viewer | ✓ Peeker Zoom, rotate, export |
✗ | Lightroom preview |
| Color Grading | ✓ Wheeler/Slider Live Wheels/Slider |
ColorCom RGB channel control via buttons |
Standard LR |
| Detail Editing | ✓ Slider 30+ sliders |
Layer-based in PS | Standard LR |
| 3D Visualizations | ✓ Matcher (RGB/CMY/LAB cubes) ✓ Separator (3D layers) |
✗ | ✗ |
| Batch Consistency | ✓ Integrated Analysis | ✗ | ✓ Static profiles |
| Histograms | 2D + 3D | Standard PS | Standard LR |
| Result Color Cast Analysis | ✓ Separator 3D layers | ✗ | ✗ |
| AUTOMATION | |||
| Batch Processing | ✓ multiselect or hotfolder | ✓ folder selection | ✓ LR copy/paste settings |
| Hotfolder Monitoring | ✓ Auto-convert New scans automatically |
✗ | ✗ |
| Consistency Function | ✓ Averaging Across image series |
✗ | ✗ |
| Preset System | ✓ Settings + ICC/LUT | ✗ | ✗ |
| Auto-Apply Presets | ✓ On conversion | ✗ | ✗ |
| TECHNICAL FEATURES | |||
| Film Content Detection | ✓ Intelligent auto-detect Masks sprocket holes, dust, scratches |
✗ Manual | ✗ Manual |
| White Balance | IWB (Float32 in LAB colorspace)
Brightness independent |
In LR/ACR (RGB) | In LR (RGB) |
| ICC Profile Support | ✓ Input + Correction | Via LR/PS | Via LR |
| Non-Destructive | ✓ XMP metadata | ✓ Layer-based | ✓ RAW workflow |
| LR Compatibility | ✓ XMP readable in LR | ✓ Via XMP | ✓ Native |
| FILE FORMATS | |||
| DSLR/Mirrorless RAW | ✓ All common formats | ✓ Via LR/ACR | ✓ Via LR/ACR |
| Consumer Scanner RAW | ✓ DNG, TIF, TIFF | ✓ DNG, TIF, TIFF | ✓ DNG primary |
| Lab Scanner Formats | ✓ UNIQUE! Noritsu .RAW Pakon .raw Creo .DT Konica .B48 Hasselblad .FFF |
✗ | ✗ |
| Thumbnail Generation | ✓ For ALL formats Even if Bridge can’t display them |
✗ | ✗ |
| Mobile Support | ✗ Desktop only | ✗ Desktop only | ✓ iPad/iPhone |
| TARGET AUDIENCE | |||
| Perfect For | • Professional labs • Portrait photographers • Hobbyists • Beginners • High-volume workflows • Speed + live feedback |
• Creative photographers • Photoshop power users • Maximum look variety • Post-production focus |
• Lightroom users • Mobile workflows • Beginners • iPad users |
| Experience Level | Beginner to Pro | Advanced to Pro | Beginner to Intermediate |
| Learning Curve | Low (high for learning all modules) | Medium (but requires PS knowledge) | Medium (requires learning complimentary color correction) |
TRUE FILM COLORS
What are “true film colors”?
There’s a secret about analog photography: true film colors don’t exist.
In traditional darkrooms, printing a negative was never automatic. Technicians used color mixing heads to manually correct the orange mask and color casts – adjusting cyan, magenta, and yellow filters until the print looked right. Every print was an interpretation based on skill, paper choice, and personal taste.
Later, Fujifilm’s Frontier scanners revolutionized this with automatic color correction. They read the film’s DX-code and digitally corrected color casts before exposing onto paper. Fast and accurate – but still an interpretation.
The point? Whether darkroom or digital, every positive from a negative involves interpretation. There are no “straight prints” – only choices. What matters today is choosing the right software to interpret your scans the way you want them to look.
“Home of true film color” means staying true to the medium and true to your vision. We don’t force you into darkroom or Frontier emulations by default. Instead, we give you the tools to interpret your negatives exactly how you envision them – with precision built for film’s unique characteristics.

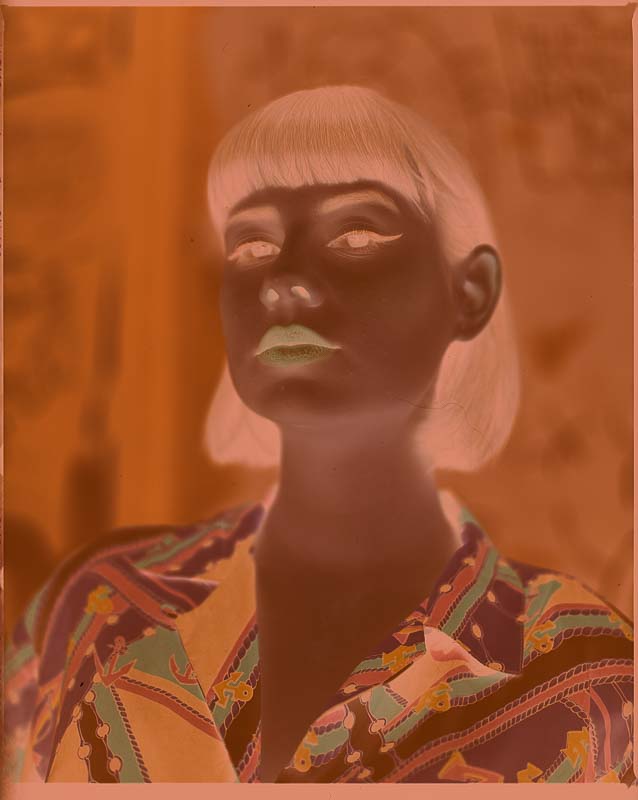
Portra 400 / Epson V850 / Lukas Büsse

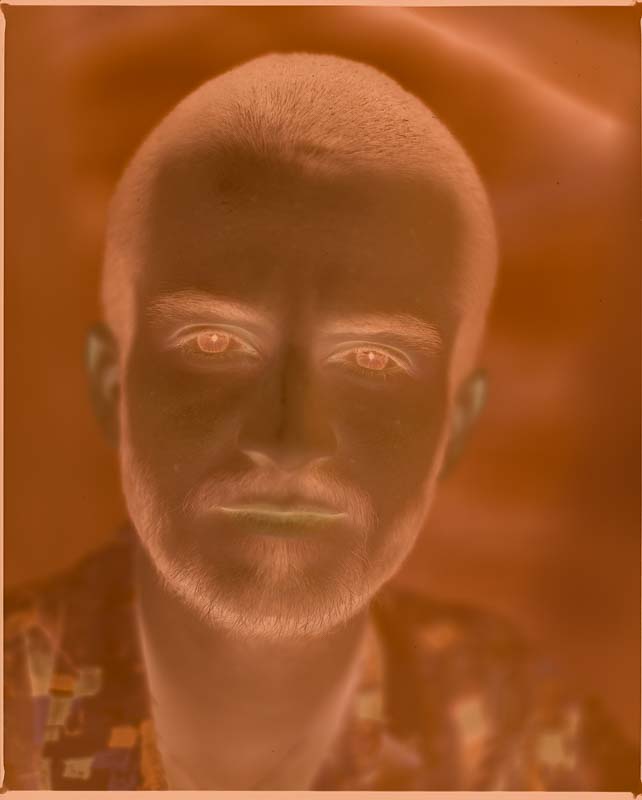
Portra 400 / Epson V850 / Lukas Büsse
YOUR BENEFITS
Fun to use but still professional
True analogue tones
No subscription
The Promise
Speed!
Community
Just ask!
Typical projects include scripts and utilities that organize film scans into folders based on naming conventions, perform batch color correction, apply ICC profiles, or streamline complex workflows for photographers, labs, and archivists.
A BRIEF INTRODUCTION
We believe professional software can be fun and still have a slick UI. NEGMASTER offers professional software for film negative conversion. Our latest child and flagship, NEGMASTER-BR for Adobe Bridge, is a complete conversion suite built for photographers and labs who’ve invested in quality scanning equipment – and want software that actually delivers on that investment. We went new ways with designing tools and interfaces that make you literally fly through scans and histograms. Imagine a 3D histogram as large as your screen where you can look at every single pixel in it’s color space.
