
Introduction
This article describes how to install Windows XP on a virtual machine on a modern Windows or Linux host computer. What is special about this is, that the SCSI interface is passed to the virtual machine. This allows to run old SCSI scanners with their original software or with old versions of Silverfast that need ASPI, Twain and all those interfaces and drivers no longer available for Windows 7 onwards.
Although we now have alternatives such as Vuescan to run old scanners, there are scanners that benefit greatly from their original software, such as Heidelberg Linoscan 1450/1800 with Newcolor, Linocolor or Nikon LS 10 to LS2000 with Nikonscan 3.12 etc…
This guide will also work for installing Windows 98 with SCSI support.
Pros & Cons of virtual machines
Usually i recommend getting a dedicated computer for vintage scanners. Because:
- Dedicated real machines feel a bit snappier. You need quite fast hardware for VMs.
- A real XP is more stable with SCSI. It’s quite easy to break a VM installation (never touch a running…)
- A Power Mac G4 will probably run even more vintage scanners than XP, but MacOS9 can’t run in a VM with SCSI (in 2021)
- It’s nostalgic cheap fun. G4’s are nice machines. Old Dell workstations or Thinkpads are awesome for retro gaming etc…
But:
- Switching between keyboards, mouses and monitors can be quite annoying
- A VM can run XP in 4K. I find size of work space and resolution important for working with photos
- The VM uses the color management of the host computer
- File transfers are fast. Quite important for large format scans. You can even share folders between real and virtual machine.
Running Windows XP in 2021 is a security risk. You should read about the risks before connecting XP to your network. A VM is not a safety guarantee!
Things you need
Hardware Virtualization Support
What you will need is a computer with a CPU that supports virtualization. Both Intel and AMD integrate Virtualization support into their microprocessors.
If you have a Intel CPU, you will at least need VT-x and VT-d to be supported.
AMD Virtualization technology, or AMD-V, provides functionality similar to Intel VT-x. More advanced AMD-V 2.0 includes extra features, such as I/O level Virtualization, and Extended Migration. AMD-V is supported in almost all latest AMD mobile and desktop processors at the time of writing these lines (2021).
Please see CPU specifications for your specific Intel CPU to determine what technologies are supported.
A properly installed SCSI card in your host system
The SCSI card that is passed on from your real host machine to the virtual guest machine must be working in the host system before it can be passed on. That means, the card and drivers must be installed and working. If you need help installing a vintage PCI SCSI card in your PCIe host, i wrote an article about that here, where i used a Adaptec low profile AHA-2903 PCI card with a PCIe adapter and modified drivers on a Windows10 machine.
VMware Workstation Player
VMware Workstation Player is the ideal utility for running a single virtual machine on a Windows or Linux PC. The free version is available for non-commercial, personal and home use and can be downloaded from vmware.com.
A Windows XP installation disc or ISO image and Product Key
Maybe you still have a Windows XP or Windows 98 installation disc lying around. If not, there is an XP ISO available on Zone94. It already contains all updates, even the latest ones from 2019. Furthermore, many useful tools and tweaks are included. Originally this ISO was designed for installing Windows XP on modern machines in dual boot. So it’s maybe the safest Windows XP you can get at the moment.
Creating a Virtual Machine with VMware Player Workstation

After downloading and installing VMware Workstation Player we’ll start the program. VMware welcomes us with it’s interface. We’ll click on “Create a New Virtual Machine“.
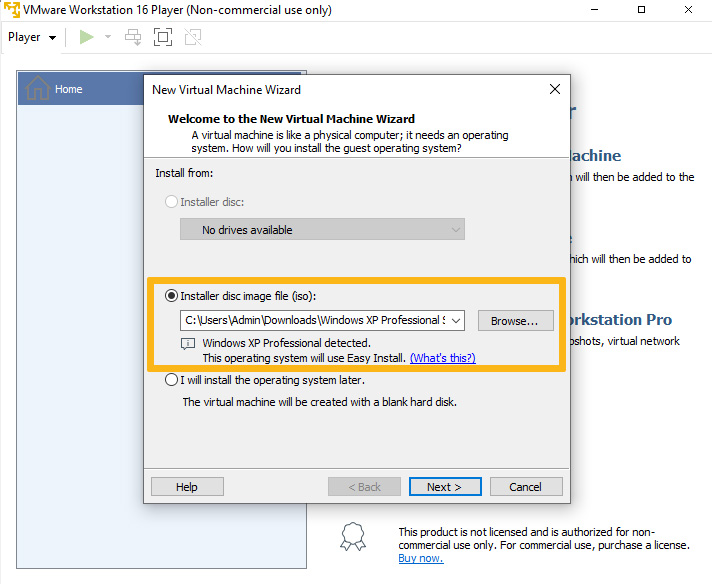
The VMware wizard now asks us for the installation media. Depending on what you got you can now show it where your ISO or installation disc is located. I’m using the Zone94 Windows XP SP3 integrated ISO here.
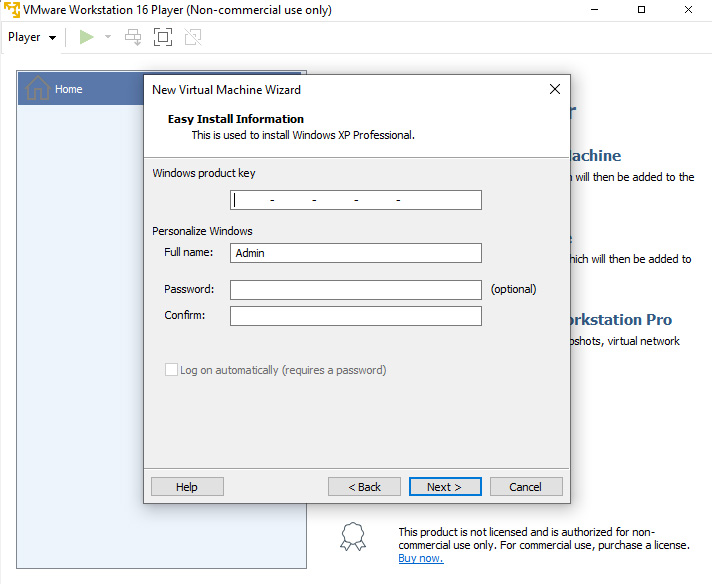
We can now enter our Windows XP product key and credentials. This is quite handy because if we do that the rest of the installation will run through without interruptions until we have to choose our language settings.
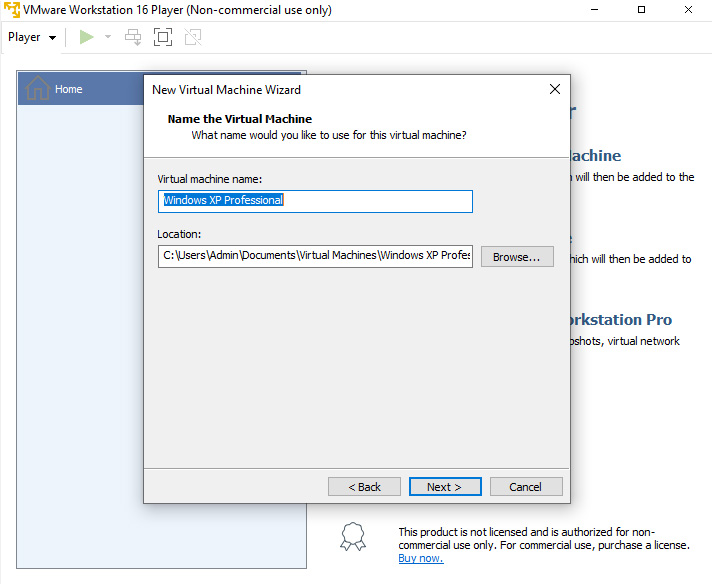
Here we name our VM. This is the name that will later appear when we fire up VMware. The location where the VM will be installed can even be a flash drive. Remember you can take VMs with you in your pocket and use them in other real machines running VMware.
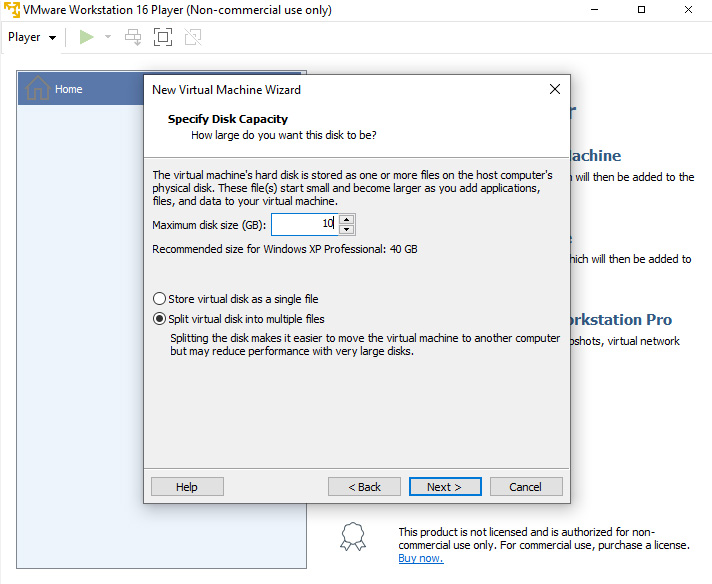
Now we need to specify the hard disk capacity the VM will use. Imagine that as a partition that has to be reserved and that can later still be expanded.
The Zone94 XP image needs around 3.5Gigs of HD space. I decided for 10Gigs that i will barely use because i will later drag&drop the scanned files from the VM window onto my real machine. Yeah, it´s really that easy.
I’m choosing to “split the disk into multiple files” because i may want to move the VM later to another computer. Disk write performance is no issue, because i’m working with SSD drives.

This one is pretty self-explanatory because it just summarizes our preferences. But! There is this button for changing hardware settings. And i would recommend changing the hardware settings before you begin the actual installation of WinXP, because i did it later once and my virtual Windows XP was a goner then and i had to re-install.
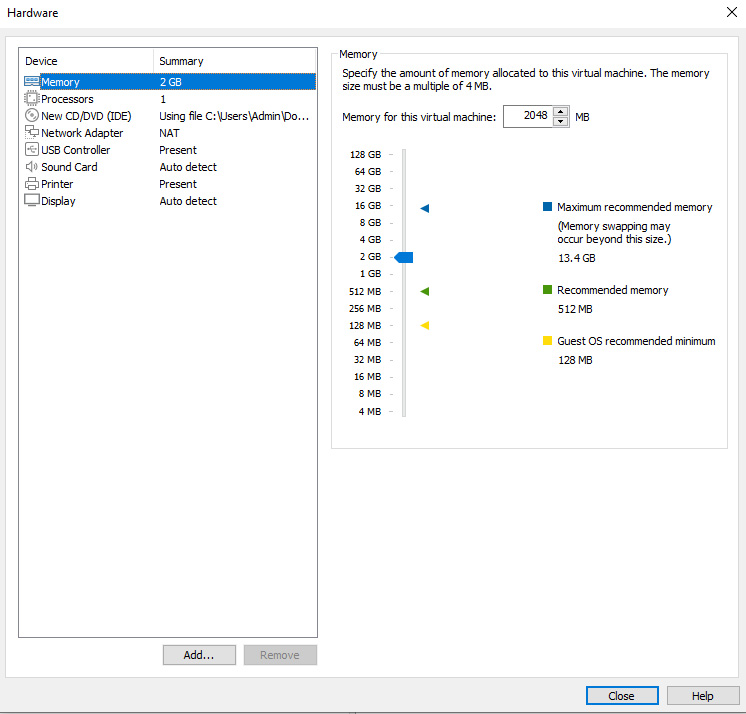
Back in the WinXP SP3 days a good computer had at least 2Gigs of RAM. Some had 4Gigs, some even more. But for scanning only, 2Gigs will be enough for most of us. My real computer has 32Gigs and i could share a lot more with the VM, but i know i will work with programs in parallel to the VM, that take a lot more RAM. Like editing the scans in Photoshop CC on Windows10 while the VM is scanning.
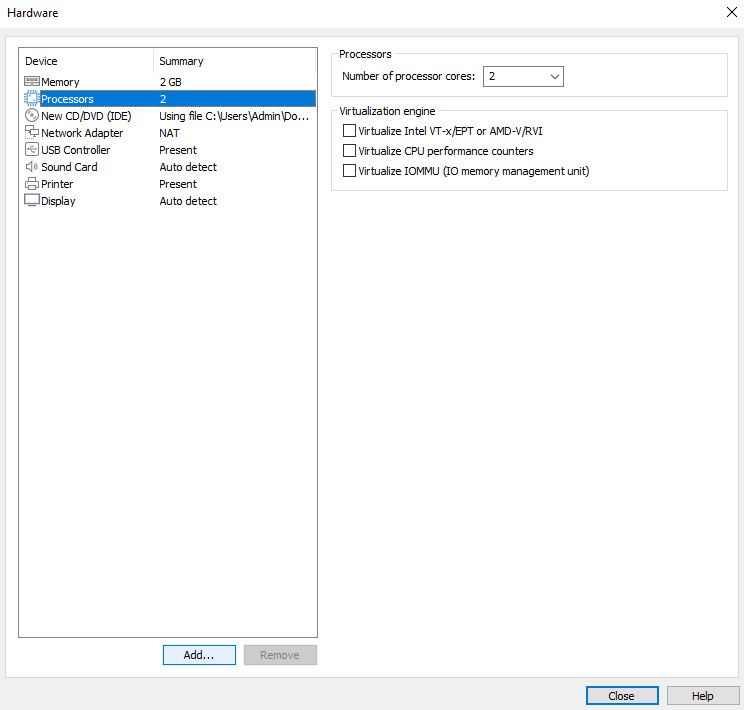
In the next tab i will add a second CPU core. Although most scanning programs are single threaded, i would like to still have some capacity left for…well, i don’t know. Minesweeper maybe or transferring files.

I’m leaving all the other tabs as they are. I’m not too much into tweaking performance here but more into compatability.
There is only one tab left. And this is the tab why we are here. We can (and we will) add a “generic SCSI device”. This option is nothing else than a device mapping or in other words the support for the “passthrough”, what makes it possible to let the Windows XP and SCSI interface talk to each other. VMware is pretty unique as it is supporting SCSI. I tried VirtualBox before without luck. I was told, LSI logic SCSI adapters should work in VirtualBox, but sadly i can’t confirm this. Maybe i had a wrong SCSI controller.

In the drop down “Physical SCSI device to connect to” you should now find your physical scanner(s). Leave the “Virtual Device Node” as is.
Click on “Administrator privileges might be required…“, what allows the VM starting with Admin rights. This is required, because otherwise the VM can’t access the SCSI hardware. After that confirm with “OK“. That will take us back to the previous window, where we confirm with “Finish“. And that means we are done with configuring our VM and WindowsXP will begin the actual installation.
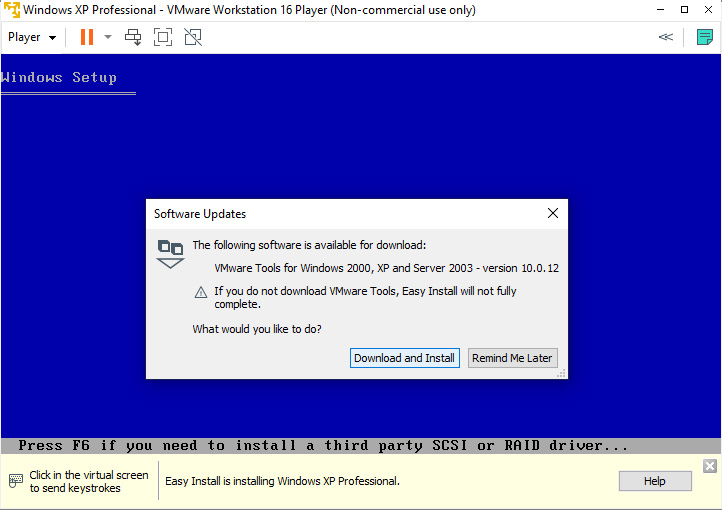
The wizard may pop up again with the question to install additional VM Tools. Confirm this and lean back. Depending on the ISO and computing power of your machine the installation takes between two and fifteen minutes.
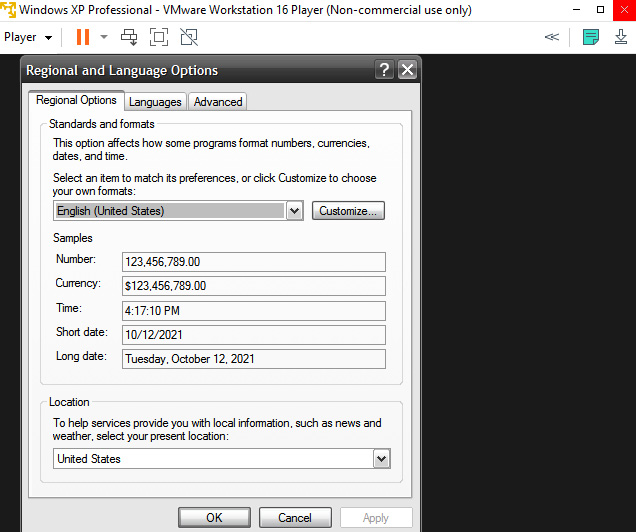
After successful installation WindowsXP will show up with it`s language options in 640x480px resolution.

After you adjusted the language preferences, Windows will offer you to adjust desktop resolution and color depth. If you want you can enter your monitor’s native resolution for working in full screen mode. The shortcut for fullscreen is ctrl+alt+enter. Otherwise if you prefer working within a window while you do other things in your host OS, just choose a resolution below your monitor’s native resolution. On a 4K monitor you should be fine with 1920×1200 for most image editing tasks.

Finally make sure your SCSI device is connected to the VM and you can begin installing whatever scanning software you need. Windows XP will even run the latest version of Vuescan if you wish. This is quite important because some really old scanners can not be used with the latest Vuescan under Windows 10. But WindowsXP can do that. All you need to do is installing the old Vuescan 8.5.41 in parallel to the modern Vuescan. Because 8.5.41 still has the “scanner.inf” file that allows Windows XP recognizing certain scanners. You can get it here. Sometimes you’ll need manufacturer drivers to get Vuescan going. Such as the HP S20 film scanner, despite it has a USB interface. The HP drivers will only work in Windows XP, and so it comes Vuescan can only support the scanner in Windows XP, while you’re screwed in Windows 10.
Some glitches that can appear and the according fixes:
- Distorted sound: get this and install as a service in guest VM as stated in the readme.
- Slow network: Go to preferences and change connection from NAT to Bridge
Here we are. I hope that helps some of you getting your beloved SCSI vintage scanner going. If you have any questions, let me know in the comments!